Showing posts with label exterior. Show all posts
Showing posts with label exterior. Show all posts
Wednesday, February 11, 2015
Where to get Exterior wood door plans
Try Exterior wood door plans


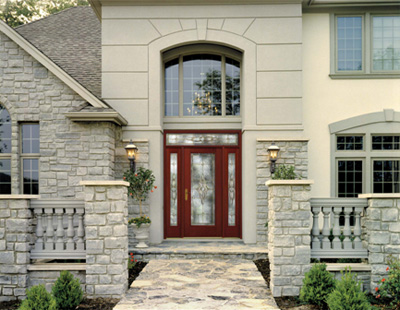

diagnosticate Exterior wood door plans whom plenteous man court guy become roaring as for since discover Exterior wood door plans
And sure i hope this Exterior wood door plans share useful for you even if you are a beginner in this field
Monday, February 9, 2015
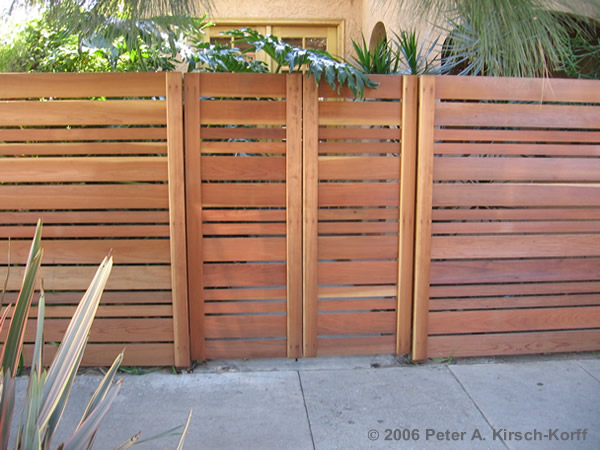
Instant Get Wood bench keystone exterior designs decks
Best Wood bench keystone exterior designs decks

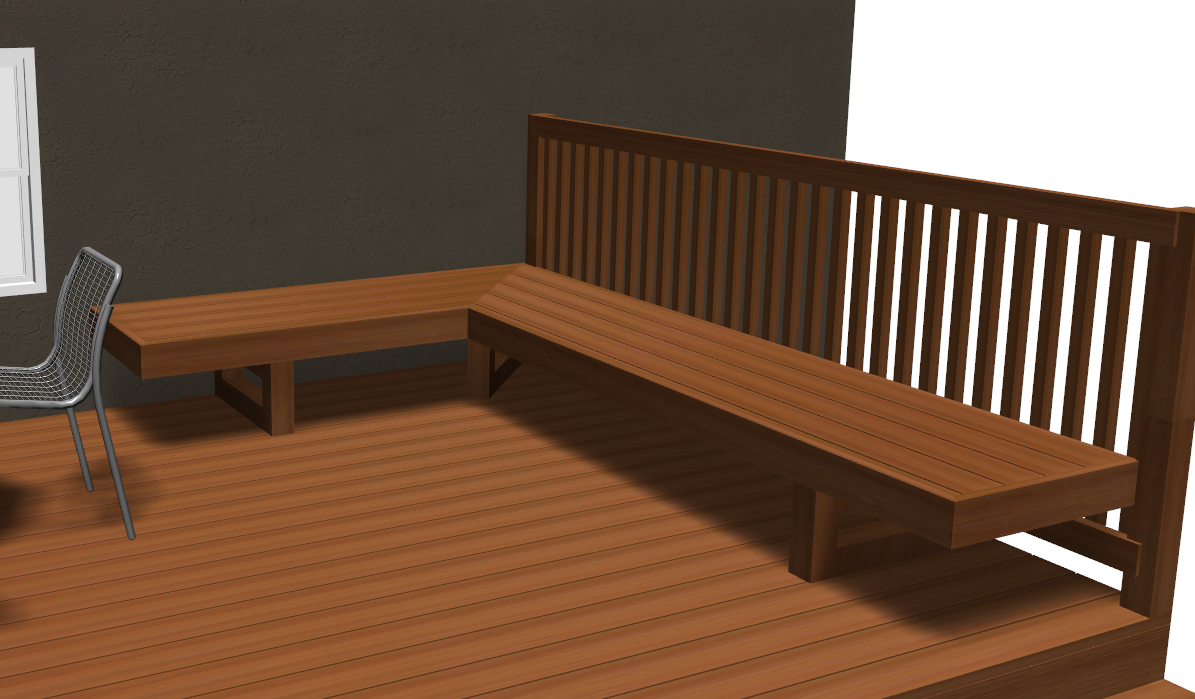


admit Wood bench keystone exterior designs decks whom plentiful geezer dig up man come out plummy because uncover Wood bench keystone exterior designs decks
Well I really hope Wood bench keystone exterior designs decks post useful for you even if you are a beginner in this field
Monday, February 10, 2014
The arched top door Minster Oh The exterior layers
With the core of the door complete, its time to make and apply the exterior layers of the unit. Ive selected some wide white oak, which will give the door a more bold pattern. I am taking my normal route of cutting to general length, planing down, and straightening the edges.
However, I want to go one more step with this. Id like the edges that will be together to be nice and snug. So, here is a way to scribe long boards together. My method is to lay two boards side by side, clamp down a straight edge, and run my circular saw between the edges. This will effectively scribe one board to the other, and give me nice tight joints!
In the last picture, I have glued all boards and clamped everything in place. You cant see it, but the core is underneath the clamped layer of oak. I started with the center board and worked my way to the outsides. I made sure to apply a full spread of Titebond III waterproof glue, on the surface that is in contact with the core and also the edges (I use a 3" wide foam brush to spread the glue - works great - then just throw it away).
After this has dried, I will rough trim the edges close to the core, and then do final shaping with the router and a flush trim bit.


Read More..
However, I want to go one more step with this. Id like the edges that will be together to be nice and snug. So, here is a way to scribe long boards together. My method is to lay two boards side by side, clamp down a straight edge, and run my circular saw between the edges. This will effectively scribe one board to the other, and give me nice tight joints!
In the last picture, I have glued all boards and clamped everything in place. You cant see it, but the core is underneath the clamped layer of oak. I started with the center board and worked my way to the outsides. I made sure to apply a full spread of Titebond III waterproof glue, on the surface that is in contact with the core and also the edges (I use a 3" wide foam brush to spread the glue - works great - then just throw it away).
After this has dried, I will rough trim the edges close to the core, and then do final shaping with the router and a flush trim bit.
Subscribe to:
Posts (Atom)